

Floor SANDING & RESTOration
Floor Sanding & Restoration, Bring your wooden flooring back to life!
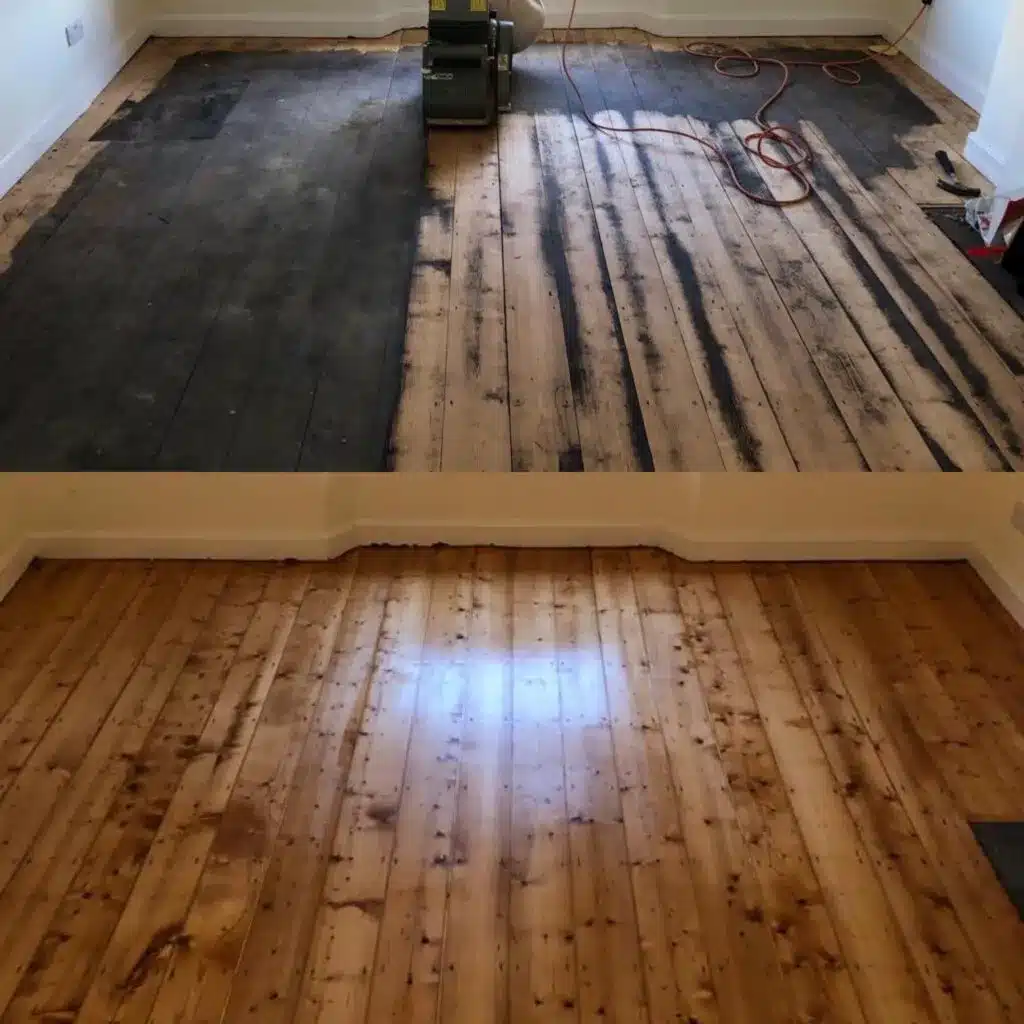
Here at 4 Seasons Flooring, we have over 20 years of experience sanding and restoring all types of wooden flooring found in the home. We can bring your tired old wooden floors back to the beautiful, warm and hardwearing floor boards they were intended to be. With a 99% dust-free process and of course an extensive clean-up afterwards you will never know we were there except for the shiny new floor we leave behind, get in touch to get your quote today!
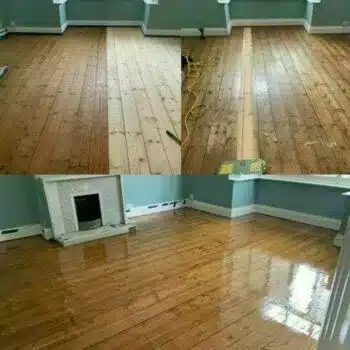
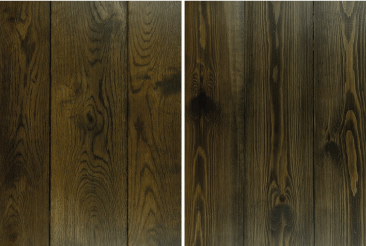
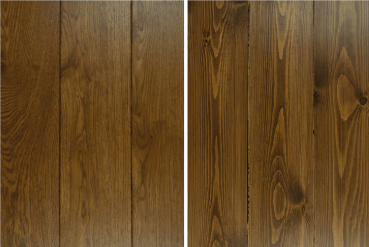
check out our previous work


Why Floor sanding is a good choice
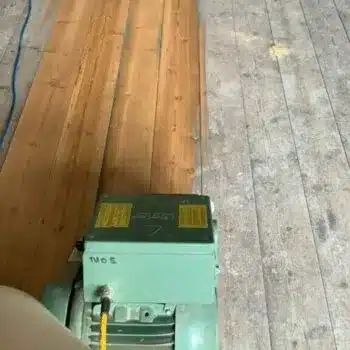
Dust Free!! –Floor sanding and wooden floor restoration has become a dust free process in the last decade, gone are the days of dusting down curtains and getting cleaning companies in after the sanding work. Our machines with there vacuum systems will extract 99.97% of dust at source, effectively this means whilst the machine is sanding the wood no dust will be seen even in the brightest of lights.
Not as loud as you think – another common misconception is that the Floor sanding process is so loud that you couldn’t bear to have that much noise in your home for days on end, again technology has come a long way, Although its never going to be a quite job floor sanding now is not as loud as it used to be. If the floor sanding is taking part in a room of the house with a door, many times my clients have been able to work from home whilst the wooden floor restoration is taking place.
Quicker than laying a new floor– If you consider that when having a new wooden floor installed that you will most likely have to remove current wooden floor, then have some form of subfloor preparation to do before even starting to install new solid or engineered wood flooring. then its easy to see how restoring your current hardwood or softwood by floor sanding will be a much quicker process.
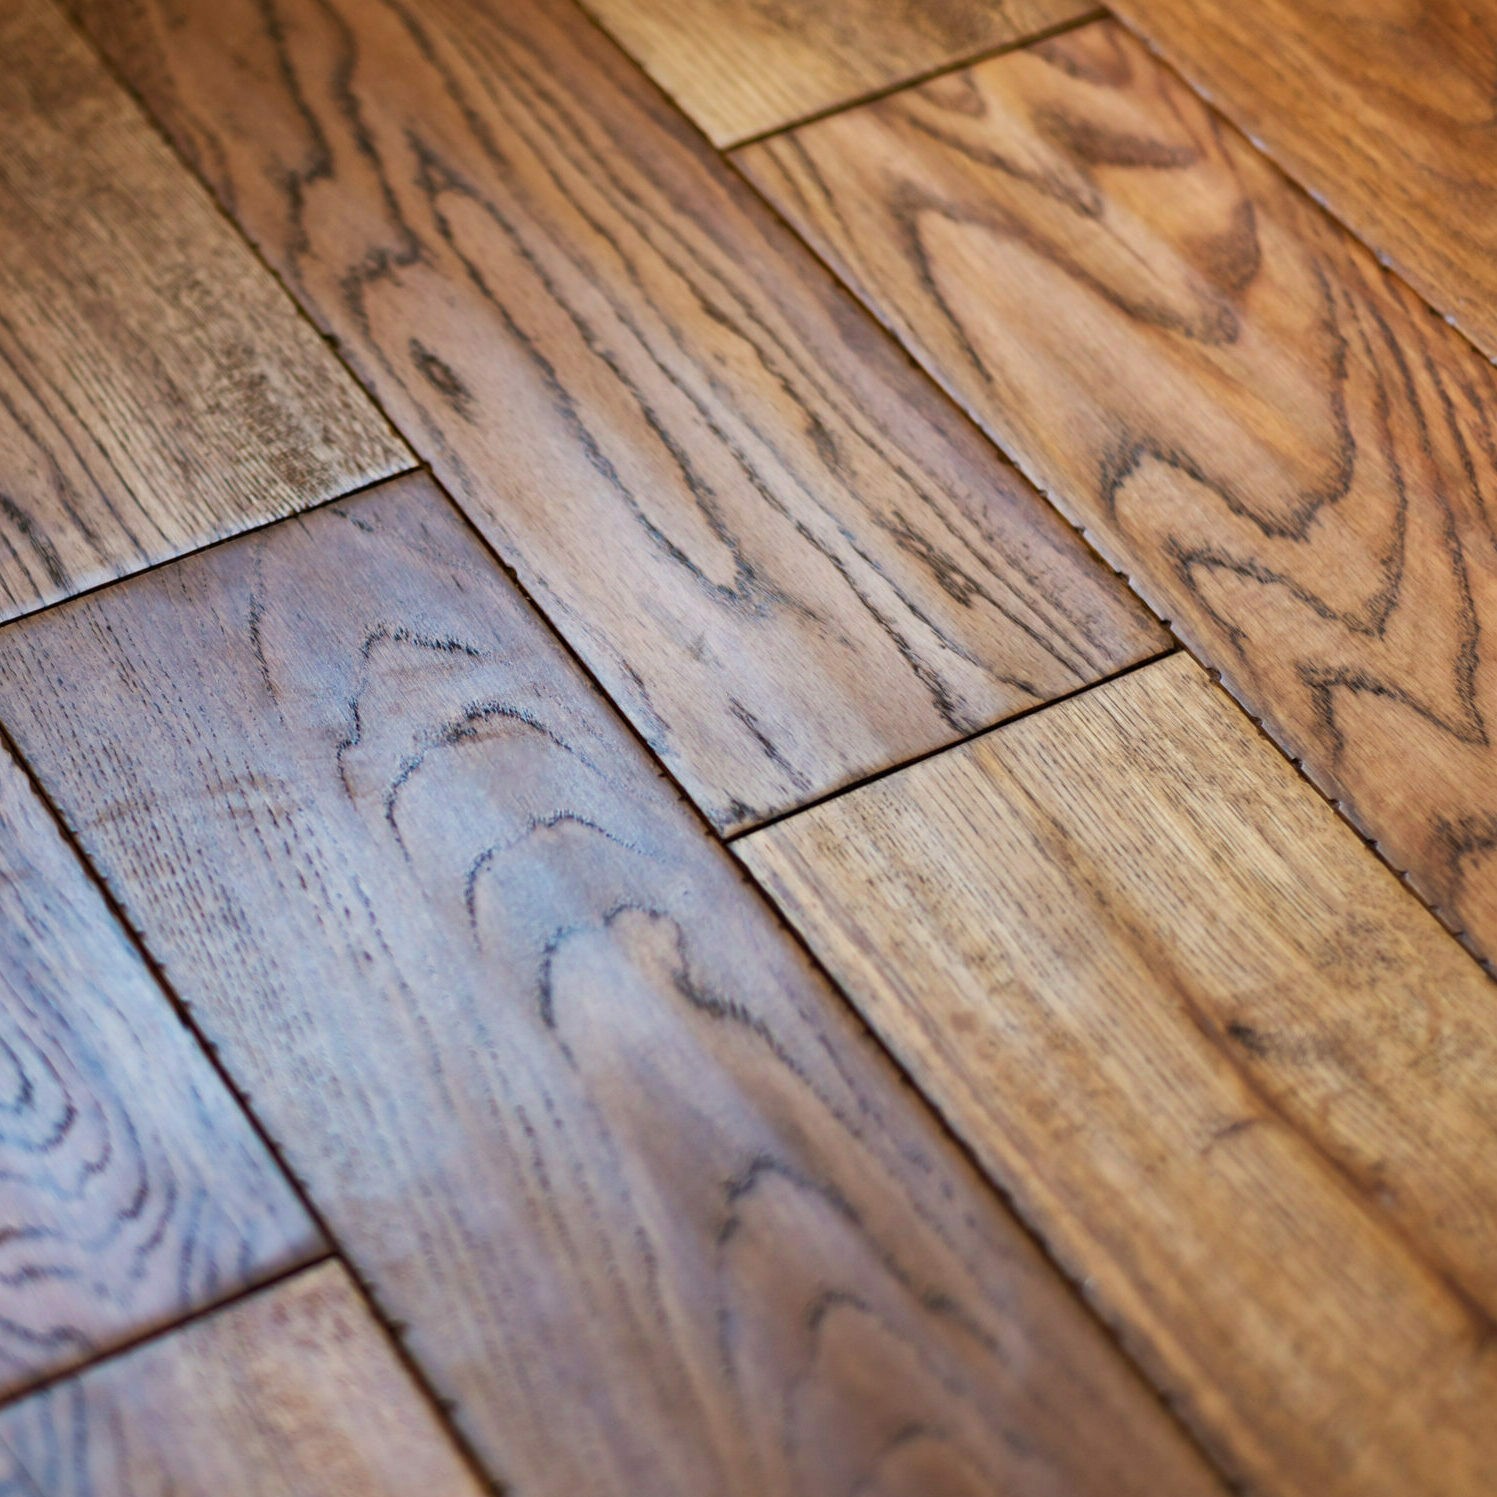
Re designing your room?– Obviously in time all things change, what style/colour or taste you had before might need changing, when having your wooden floor sanded you can start again like a blank canvas. having either a dark or light finish, matt or gloss finish lacquer or oil finish.
What do we do with the sawdust waste product?
Floor sanding will always produce a waste product (lots of low and high grit saw dust ) this is always going to be the case, however at 4 seasons we like to do as much as we can to reduce our carbon footprint, nothing is wasted! We hand out all sawdust from our floor sanding jobs to local farmers or equestrian centres so that it can be used as floor bedding.
Get in Touch for a free quote
Click the Get a Quote button above or get on in touch with us through the contact form below and start the process for your free quote, if you have measurements and pictures we can often quote without visiting your premises, let’s discuss your sanding and restoration project today.
The 4 Seasons Ethos
Communication – Pro-actively work in close partnership with our clients to ensure consistency and quality of service is maintained through clear lines of communication.
Continuous Improvement – We continuously strive to find new materials, equipment, tools and working procedures that could bring savings in respect to cost and/or increase quality and productivity for our clients.
Military Precision – The key ingredient in the flooring industry is timing, so we run a tight ship and work to meticulous standards (we pride ourselves on a perfect finish delivered on time.
Seamless Execution – Complete flooring solutions, from planning to finish and all the stages in-between.
Good isn’t good enough – We have a lot to be proud of but we don’t rely on past successes, we’re still hungry to do things better.
Service over sale – We recommend what is best for our clients and never pressure anyone into anything just because it would be best for us.
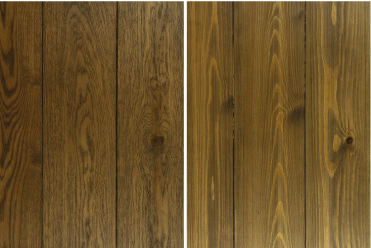
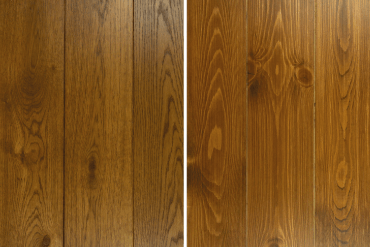
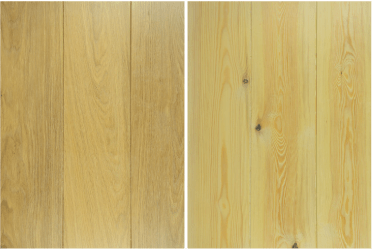
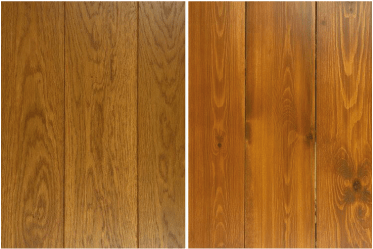
What colour to choose?
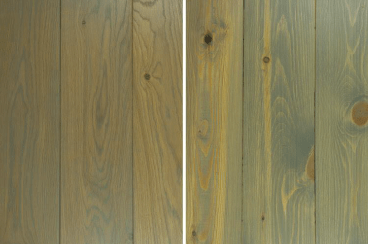
What colour flooring do we offer?
Here at 4 Seasons, we like to provide as much choice as possible, so why not consider a brand new colour for your flooring once we have stripped it back, maybe something more contemporary? see below for a list of colours available.

Light Oak
Pebble Grey

Medium Oak
Slate
Dark Oak
Spruce Timer

Mahogany
Teak Timber
Ebony
Chocolate Timber
Reviews


Frequently asked questions
Floor sanding is a big decision to make, so below we have listed a few of our commonly asked questions, if you can think of any that we have not mentioned then please do not hesitate to get in touch.
How long do the finishes take to dry?
Depending on if your choice is lacquer or oil, this may vary however. lacquer- 1/2 hours per coat. oil- 4/6 hours per coat.
How can we decide on colours?
If you choose to have your wooden floor coloured then I will put down samples of different colours directly to the wooden floor so you can decide properly.
How do you fill the gaps between floorboards?
If you have victorian pine boards then we will use pine fillets and adhesive to fill them the proper way, there are cut off and then sanded back to leave a flush surface of pine where your gaps were.
How do you fill small gaps?
If you have a hardwood that we are sanding and you have natural seasonal movement that has formed small gaps around the floor, we use a mastic filler that we will try to match close as we can to your floor.
What about gaps in herringbone floors?
Again if you have many gaps around a herringbone floor then we will mix the sawdust with a resin that is spread across the floor numerous times to sink into the many gaps, then sanded and finished.
How do you repair broken boards?
Sourcing identical boards if you have an old floor is vert hard to do, so I will always try to source some boards from hidden locations such as cupboards or under stairs, cut and fix into place then sand & fill.
How long does floor sanding take?
This will off course depend on the size and specification of your project, however as a rule of thumb to follow; 1 room per day if a basic specification is followed, if this one room requires gap filling, repairs or colouring then allow 2 days per room.


